
The decision was made that today was going to be the day that Kate gets back onto her wheels. First job of the morning was to shift the hangover, using several cups of tea and a chunk of lemon cake. Then off down to the garage to start assembling the hubs.
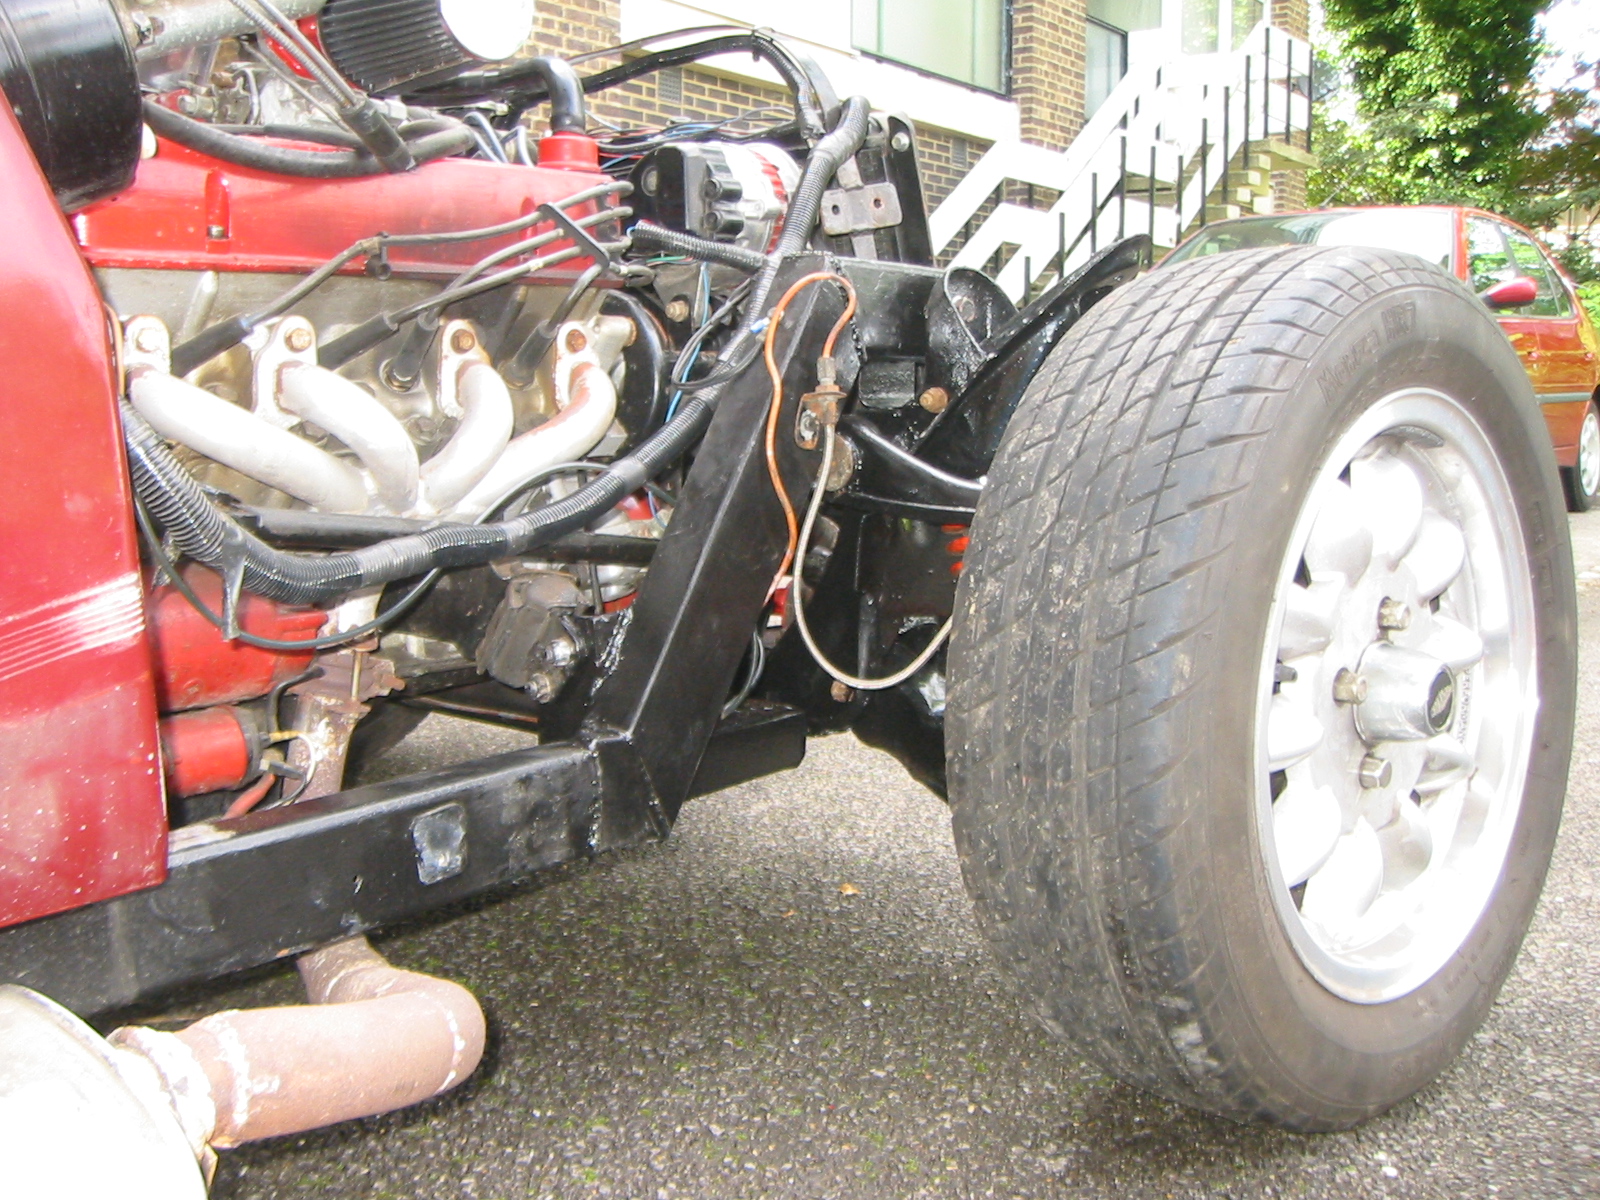
Refitted the tapered needle bearings into the hubs, place the hub onto the stub axle add keyed washer, nut and nut retainer. Repeat for the other side, quite simple really. Start to refit the brake calliper to the stub axle but drop the calliper on my finger, much pain. Finally slip the brake calliper back on and get the bolts done up, repeat for the other side but avoid the dropping on finger section. Struggle towards the back of the garage and haul the road wheels forwards, attach them to the hubs. Jack everything up, remove the axle stands and gently lower away.
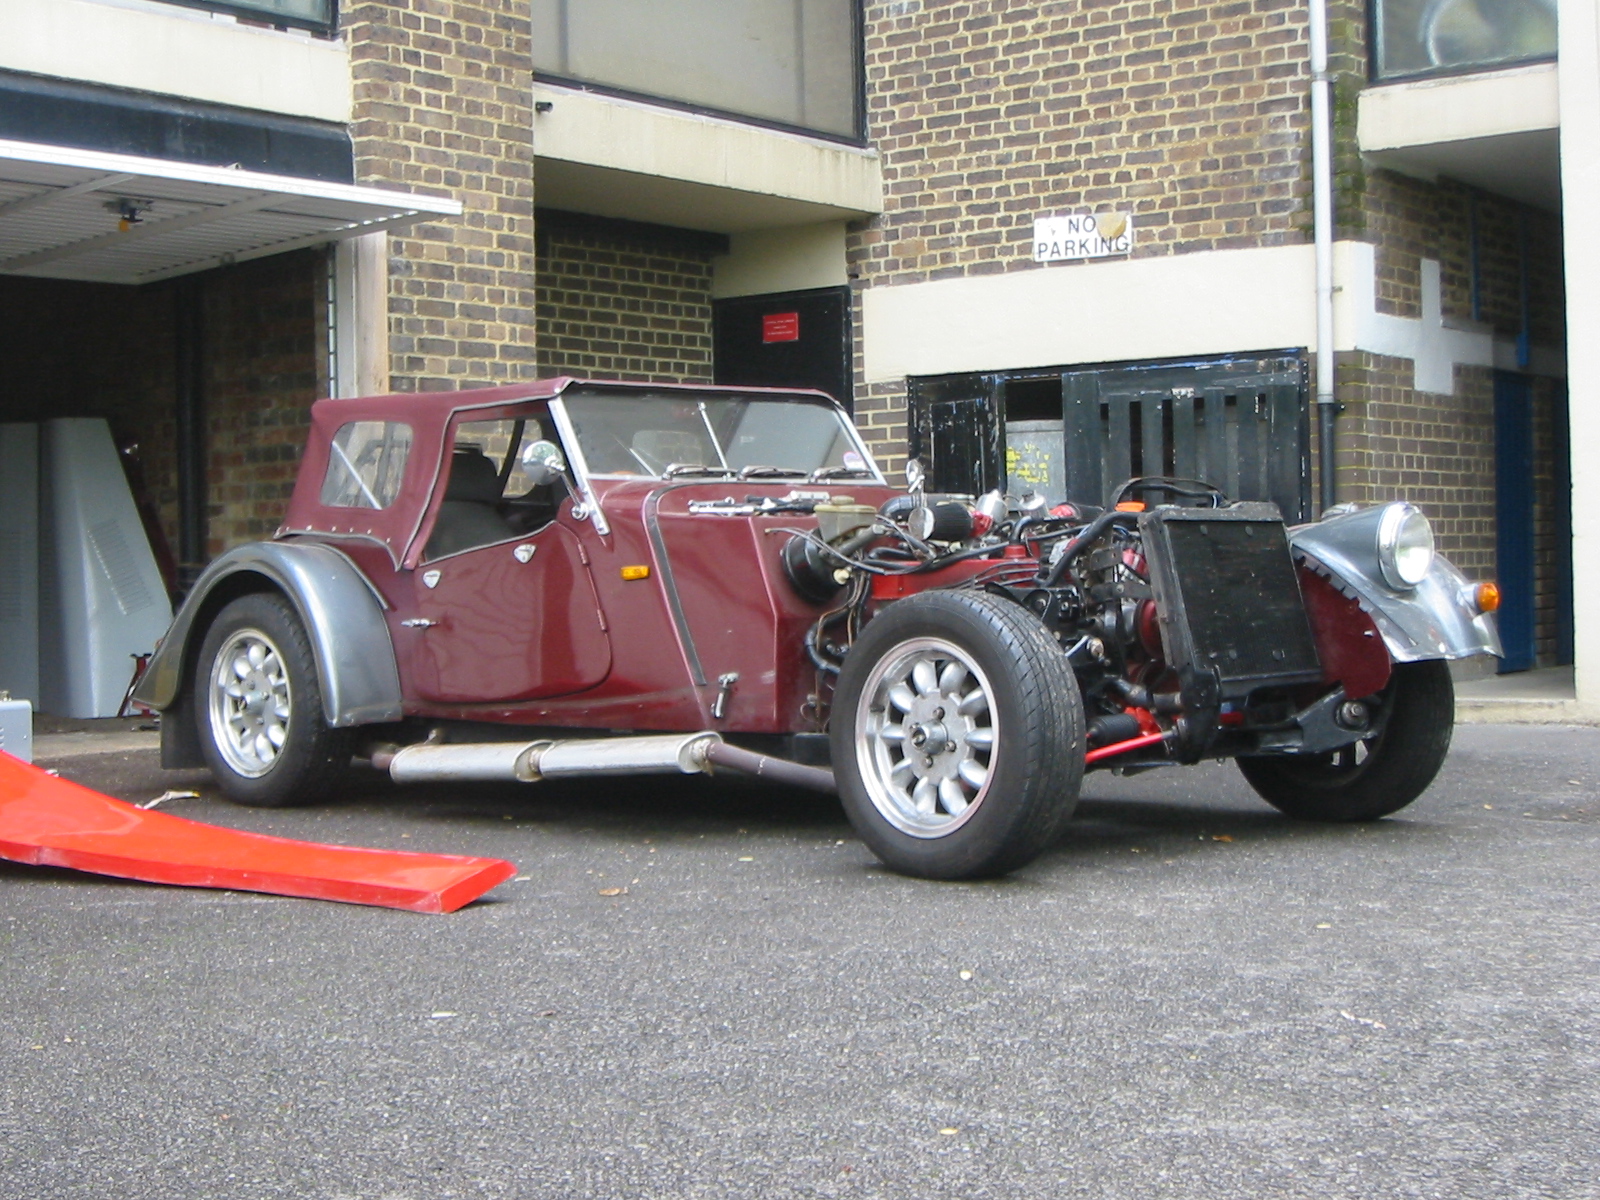
Managed to get the car out of the garage for about mid-afternoon, hoping for a nice sunny day. She certainly looks a lot better now that the wheels are back in place, much more like a car.
Refilled the cooling system with 4litres of water and anti-freeze mix and a small bottle of sealant. Oil is running low, but there is enough there for a couple of quick test runs. Keys in, ignition on and start her up. A nasty squealing noise emanates from the alternator. One of the cooling blades has been bent and is scraping on the casing, once bent back into place everything runs a lot quieter and I can leave the engine going.
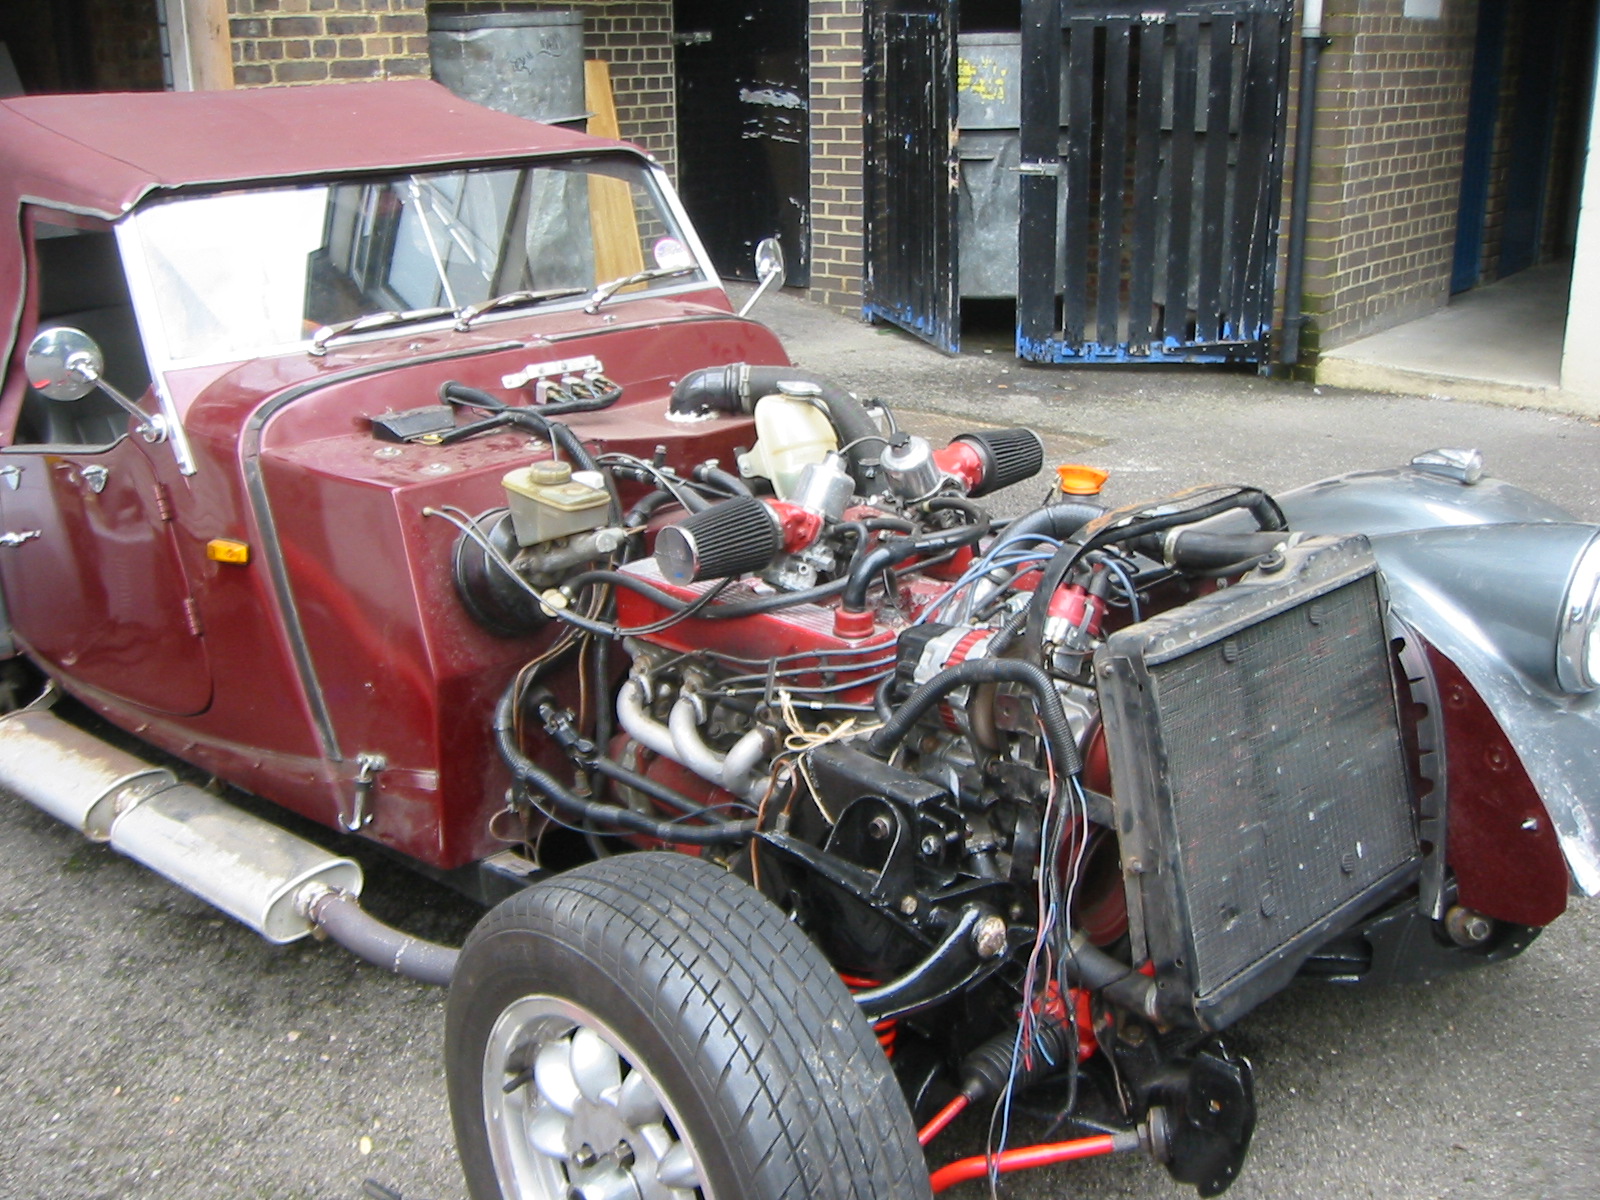
As expected, once the engine is up to temperature, the radiator starts to steam. There is a hairline crack somewhere on the passengers side that the sealant just isn't going to be able to fix. I will have to source another MGB V8 radiator. The alternator belt is also looking loose and there is no more adjustment left in the alternator. I will need to find one which is about half an inch shorter.
Still concerned about the proximity of the exhaust down pipe to the starter motor, but heat transfer doesn't appear to be too bad, and it's right next to the engine block which is probably transferring more heat than the exhaust. Still need to keep a bit of an eye on it.
Bent the rear fog lights back out again. I need to get some fresh aluminium to make up new brackets for these. I can probably use off cuts from the engine bay side wall when I get around to re-building that.
Details from the driving lamp, the unit is a Cibie Oscar, the markings on it are HR, E2, SAE 03, A14508, IGM4860HR. I will have to cross reference that against the Demon Tweaks web site to see which unit is appropriate.
Also noticed that the lens pattern on the new head lamp differs from the lens pattern on the old head lamp. Briefly considered trying to find out if I could swap the old glass into the new lamp housing, but realised that the old glass no longer exists. I will need to get hold of some bullet connectors to redo the wiring. A google search on Cibie Oscar shows numerous sites selling there, around Ł45 each inc. VAT.